Use AI visualization apps to eliminate bad options fast, then paint large sample boards for your top 2-3 finalists.
Here's the uncomfortable truth about paint samples: that little chip from the hardware store is lying to you. A 2-inch square under fluorescent lighting tells you almost nothing about how "Agreeable Gray" will actually look across your 400 square feet of wall space.
I've made every paint testing mistake in the book. Painted an entire living room "Revere Pewter" because it looked perfect on the chip—only to realize my north-facing windows turned it into "sad purple." That mistake cost me a weekend of repainting and about $150 in wasted paint.
So I figured out a system that actually works.
Why paint chips don't work
Think about what's different between the store and your home:
- Lighting: Store fluorescents vs. your mix of natural and artificial light
- Scale: A 2" chip vs. 200+ square feet of wall
- Context: White display board vs. your furniture, flooring, and fixed finishes
- Time: A 5-second glance vs. living with it 24/7
Colors shift a lot based on these factors. That "warm gray" can read blue, purple, green, or brown depending on your room's light source and what's around it.
The 3-step paint testing system
Step 1: Digital elimination (15 minutes)
Before you buy a single sample, narrow your choices digitally. This is where apps like Muro come in.
Take a photo of your actual room—the wall you're planning to paint, with your furniture in frame. Then try colors from your shortlist. The AI visualization shows you how each color will look with your specific lighting and shadows.
I usually start with 8-10 colors I'm considering and eliminate 6-7 of them in about 15 minutes. The ones that looked great online often look completely wrong on my actual walls. Better to find that out for free than after buying $8 sample pots.
You're testing in your actual space, with your actual light, on your actual walls. No guessing.
Step 2: Large sample boards (2-3 days)
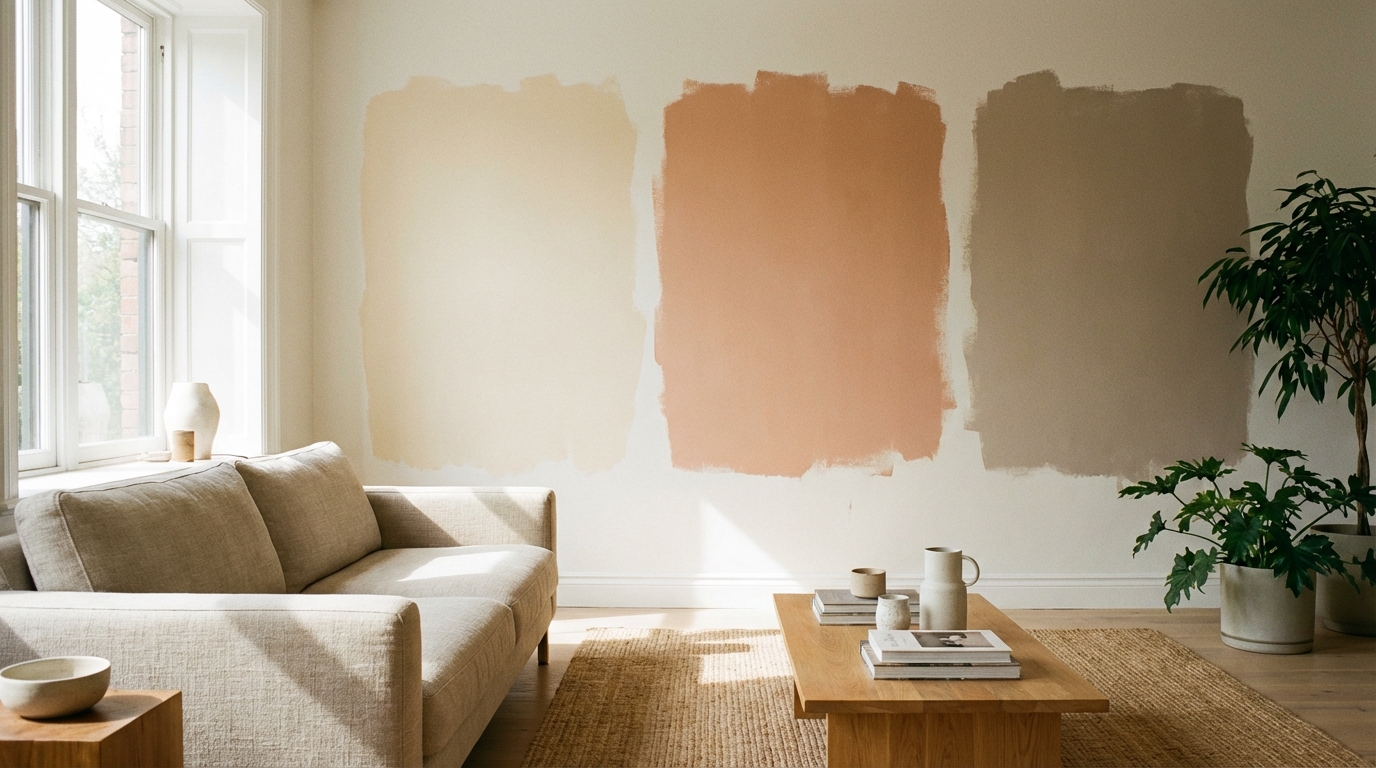
For your top 2-3 colors, buy sample pots and paint large poster boards (at least 12"x12", bigger is better). Don't paint directly on your wall yet.
Here's the trick: move the boards around the room and look at them at different times of day.
- Morning light (usually cooler, bluer)
- Midday light (most neutral)
- Afternoon light (warmer, yellower)
- Evening with your lights on (reveals undertones)
Place each board:
- Next to windows
- In the darkest corner
- Against your biggest furniture pieces
- Near your flooring
Live with them for 2-3 days minimum. You'd be surprised how your feelings change once the initial excitement wears off.
Step 3: The final wall test (1 week)
Once you have a winner, paint a 2'x2' section directly on the wall—ideally in a spot that gets varied light throughout the day. Live with it for a week.
This is your last chance to catch issues:
- How does it look when you wake up?
- Does it clash with anything you didn't notice?
- Do you still love it on day 7?
If something feels off, trust that feeling. It's much easier to repaint 4 square feet than 400.
The common mistakes (I made all of these)
Mistake 1: Testing in the wrong light
Most people test colors during the day, then hate them at night under warm bulbs. Test in ALL your lighting conditions. That gorgeous "greige" might turn pink under your warm LED bulbs.
Mistake 2: Samples that are too small
A 2" chip is useless. You need at least a 12"x12" sample to see how a color actually reads. Paint looks different at scale—what seems subtle on a chip can feel overwhelming on a wall.
Mistake 3: Ignoring undertones
Every color has an undertone—the subtle secondary color that shows up in certain light. Gray can go blue, green, or purple. Beige can go pink or yellow. Learn what undertones work in your space before committing.
Mistake 4: Not considering adjacent rooms
Stand in your hallway. Can you see into multiple rooms? Those colors need to work together, even if they're different. I once had a living room gray that fought horribly with my kitchen green because I never stood in the doorway between them.
Mistake 5: Testing on a dark wall
If your current wall is dark, the undertones will bleed through and affect how the new color appears. Paint a white primer board first, or use an actual primer on a test section.
The real cost of getting it wrong
Here's why testing matters:
- 1 gallon of paint: $35-70
- A typical room needs 2 gallons: $70-140
- Repainting because you hate it: another $70-140 plus your weekend
Total cost of not testing: $200+ and a lot of frustration.
Compare that to:
- Sample pots: $8-15 each
- Muro subscription: a few bucks
- Large poster boards: $3 each
Testing costs maybe $30. Not testing costs $200+. The math is pretty clear.
My personal workflow
Here's exactly what I do now:
- Browse paint collections for colors I like (10-15 colors)
- Open Muro and test all of them on photos of my actual room
- Eliminate the obvious misses (usually cuts the list in half)
- Buy sample pots for my top 3-4 colors
- Paint large boards, live with them for 3 days
- Paint a 2'x2' section of the actual wall with my winner
- Wait a week, then commit
This system has never failed me. Six rooms, zero regrets.
When you can skip testing
Sometimes testing is overkill:
- Repainting the same color you already have
- Using standard ceiling white
- Painting a closet interior
- Small accent that's easy to repaint if wrong
But for main wall colors in rooms you actually live in? Always test. Always.
Save yourself the $200 repainting bill
Don't trust paint chips. Don't trust store lighting. Don't trust that color you saw on some influencer's perfectly-lit Instagram post.
Test in your actual space, with your actual light, against your actual stuff. Digital tools narrow down the list fast, then physical samples confirm.
Your future self, the one who has to wake up to that wall color for the next five years, will thank you.